Use the "clone stamp" to remove zits from an image.
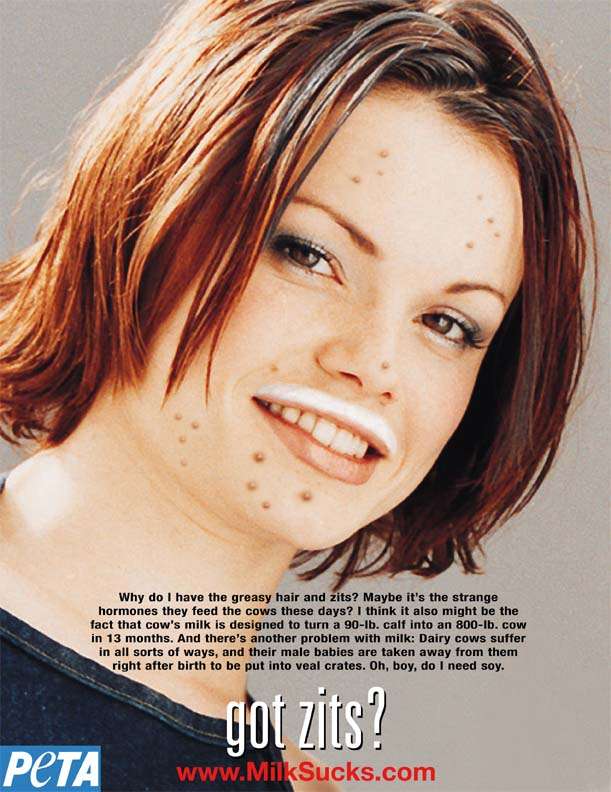
1. Find and save a picture of somebody with lots of zits.
Right-click on this link to download a sample picture from milksucks.com (choose "Save Link As..." or "Save Linked File As...").
By the way: I'm not making any political statements--I just thought this image was great for this assignment.
2. Open the picture in Photoshop.
I dragged the zit-picture icon from my desktop to the Photoshop icon (below) in my Dock:

3. Click on the Clone Stamp tool on the toolbar on the left side of the screen--it looks like a rubber stamp:

4. Hold down the option key and click on a section of clear skin just above a zit.
This tells the stamp tool what part of the picture to use as its source.
5. Release the option key and move the mouse until the stamp tool is over the zit.
6. Click to erase the zit.
If you screw up, select Undo from the Edit Menu, then try again.
7. Repeat steps 4-6 for all the other zits.
8. Save the picture under a different name.